Packaging & Merchandising Design: Final Project

WEEK 12 - WEEK 15 (30/08/2022 - 07/12/2022)
Adena Tan Sue Lynn (0345769) / Bachelor of Design (Honours) in Creative Media
Packaging & Merchandising Design
Final Project
DIRECTORY
INSTRUCTIONS
As a refresher, below is the chosen packaging from the previous project.
Choosing the group's Merch & Display
To start our work, each of us provided our ideas of the merch and displays by looking at references and inputting them into the Miro.

Later on, the group voted for their own preferred items. In the end, the majority of votes leaned towards totebag, stickers and button badges. For our fourth, we each had voted for potato paper bag, keychain or poster. To solve this as fairly as possible, I ran the wheel.
After that, we each discussed our preferred items. For the P.O.P., we opted for the person in charge to do two items so that it would be fair for everyone.
- P.O.P. (2): Jacklyn
- Totebag & Stickers: Adena
- Button Badges & Potato Bag: Adeline
Creating Elements for Group
I wanted to make elements if the group wanted to use them for their works. Since the Banana Blossom & Leaves were only done halfway previously, I made fuller versions. First, I sketched them.


Then, I went to Illustrator to make them.

Creating Stickers
To test out how to make stickers, especially in cut line form, I looked at a tutorial which I had used for another task from a previous semester.
Then, I made some options.

For the Kawan logo and the ball, I had to convert them into vector as they only came in png form. I used this tutorial to learn how to do so.
Later on, I tried making the stickers fit more with the original concept. I
created mini ones.

Then, I opted for a sticker sheet as I felt that would be better for distribution.

Next, I wanted there to be more stickers. Thus, I made the Banana Pom & Kawan Logo into stickers and created one just for the ball. I also added the banana blossom from the packaging to bring in more elements from the original. For the sticker sheet, I left in the bleed and the cutlines.

For the sticker sheet, I left in the bleed and the cutlines as I noticed that is common with sticker sheets that I own.

I also exported the stickers as their own pngs for me to make mockups.


After this, I proceeded to make mockups. For the sticker sheet, I used a preset mockup.


For the stickers themselves, I opted to learn how to create specific mockups for them. I used a tutorial to learn how to do it.

Following the tutorial, I was able to create my sticker mockups.

Below are all my final stickers.


Creating Tote bags
Before creating any tote bags, I looked at more references to get a better sense of how they're designed.

For my design, I tried three multiple designs first.


For the top left one, I was inspired by the floating idea. For the top right, I wanted to try a more minimalistic idea. Finally, the bottom was inspired by the box design, which I personally preferred the most.
For the above designs, I used a margin of 25mm which proved to be not enough as when I tried to make mockups, it turned out like this:
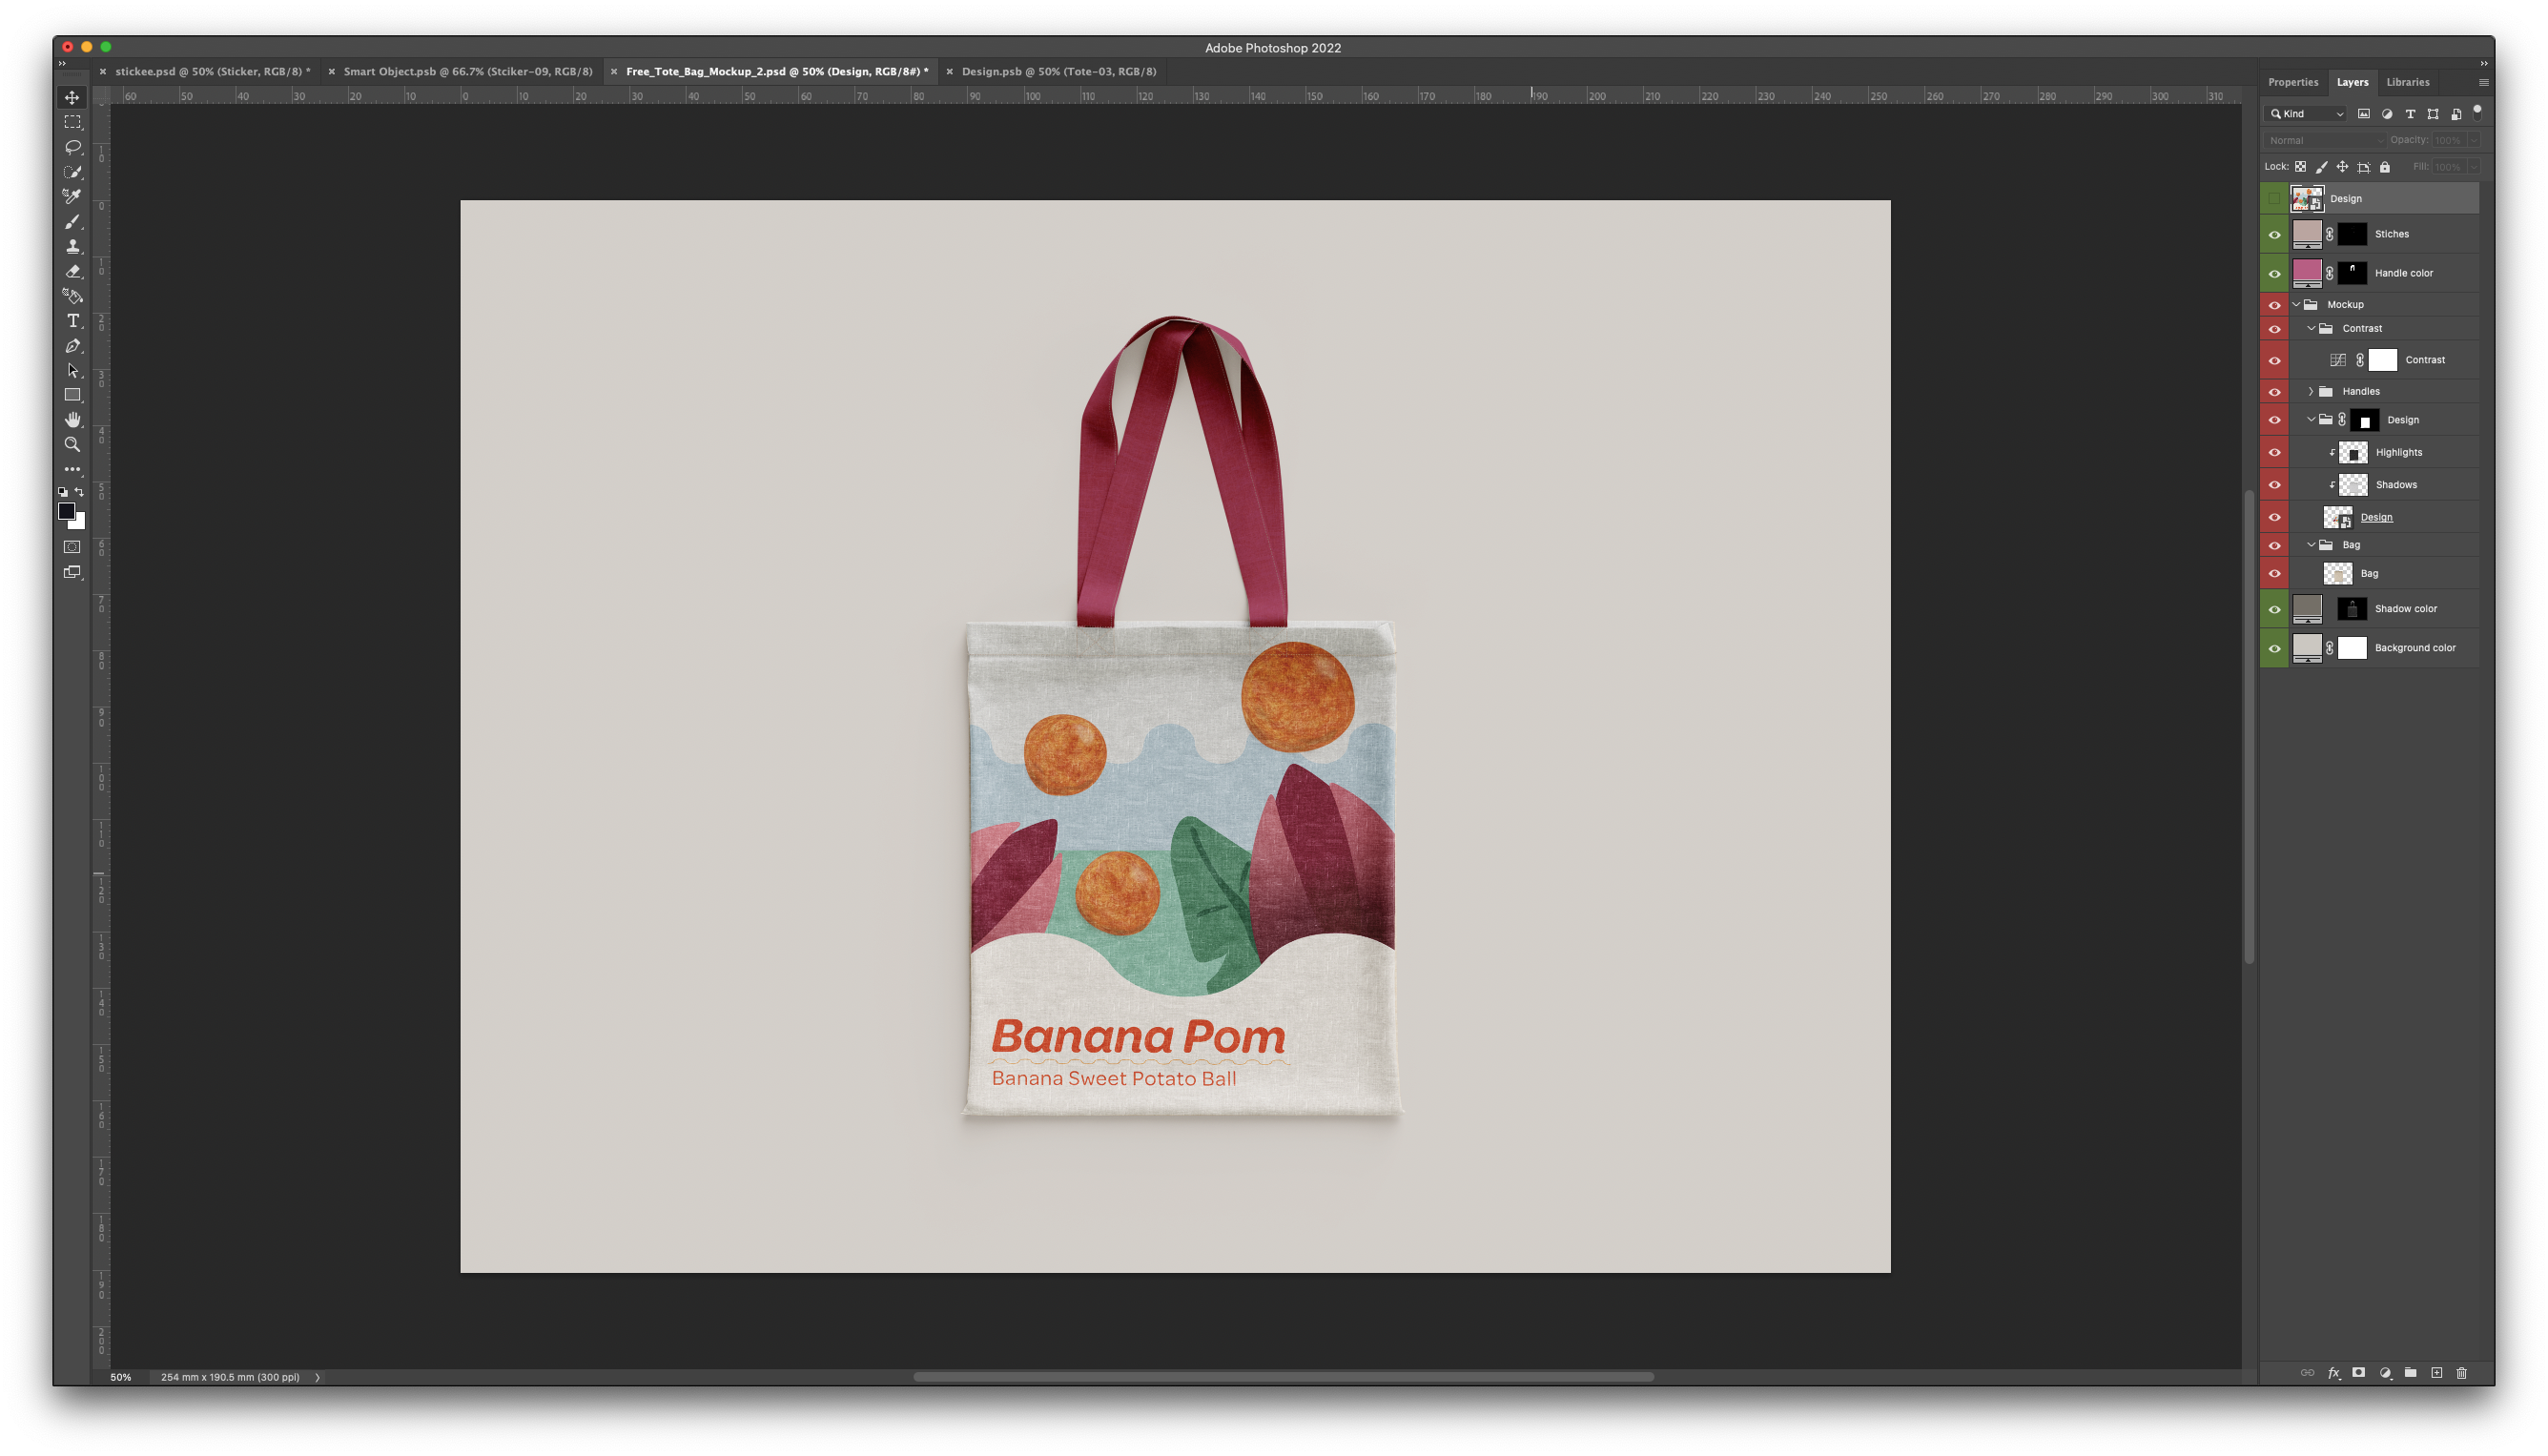
Not very appealing as you can see, due to the stitching on the elements and the sides felt too near for comfort. Thus, I increased the margin to 35mm.


Then, I made some mockups.


However, when I was sending progress to my group, I realised my preferred version was missing the Kawan logo.


Group's Compiled Work
After everyone had done their merch/display, we compiled it into slides to show to Mr Shamsul for his feedback.
Making Slides
After Mr Shamsul approved of our work, we started making our slides on Canva. As the MIB states that we have to create the brand. Thus, we focused on doing so. Please find the final slides in the Final Submission~
FINAL SUBMISSION


FEEDBACK
Week 13:
Follow the existing concept with the designs. Mr Shamsul asked us to follow the concept of the first packaging.
Week 15:
On WhatsApp, Mr Shamsul said that the group's work is consistent and impressive.
REFLECTION
Experience
For this experience, I found this task to be a fresh breath of air. Perhaps it was since it was based off the existing work from the previous task, but this project allowed me to rethink of the design and try to make things more versatile while using elements from the packaging. It was interesting to play around and try to find things that work, but still try to challenge my ability to keep consistent.
Observations
Again, observing has been a crucial part of this task. Taking the existing design and making it into different mediums wasn't as easy as I thought it would be. While there is different thought and consideration needed for it, I probably would have found it harder to get myself accustom to designing for different mediums it it wasn't for existing references as I learnt a lot about them by observing.
Findings
I found how important it was to incorporate things I learnt from the Brand Corporate Design module into this module. It was good to brainstorm alongside my group to create the brand as their ideas definitely built the brand in a way that's considerate and clarified.


