Digital Photography & Imaging: Week 06

Adena Tan Sue Lynn (0345769)
Bachelor of Design (Honours) in Creative Media
Digital Photography & Imaging
Lecture
Week 06 (27/09/2021)
Definition of Public Service Announcement (PSA)
A message in the public interest disseminated without charge. It has the objective of raising awareness & changing public attitudes & behaviour towards a social issue.
After narrowing down the scope of your idea, you can start:- Researching your topic
a) Study & gather all related information
b) Write a summary about your topic
c) Highlight the key points of the summary
d) Define the title, slogan, details & call for action - Defining your concept
a) Create a section for each content
b) Sketch your mock up poster
c) Fill in the details
+ Decide on idea & approach with the intention of delivering a strong impression & evoking the viewers' feelings - Developing your design projects
a) Visualize your idea & concept into sketches
b) Draft the digital poster based on the sketch
c) Develop the composition techniques using Digital Photography & Graphic Design
d) Apply colour, typography, textures & effects
e) Finalize with colour correction
Practical
Recolouring Black & White
After watching Mr Faizul's demo as well as Mr Martin's video, I tried my hand at recolouring the black & white image provided. Below is the original photo.

Then, I started with colouring. Firstly, I focused on the eyes. The hex colour code I used is: #89cc9c & I used the overlay function on the layer.

Second, I coloured the skin. I first had some trouble deciding on a proper colour for the skin, but I ended up using the hex colour code: #fdddcc and I used the multiply function.

Third, I decided to colour the lips. Like the skin, I had some trouble finding the proper colour as I wanted it to look more 'natural' than like he was wearing lipstick. The hex colour code I decided on is: #ffbcc7 with the multiply function
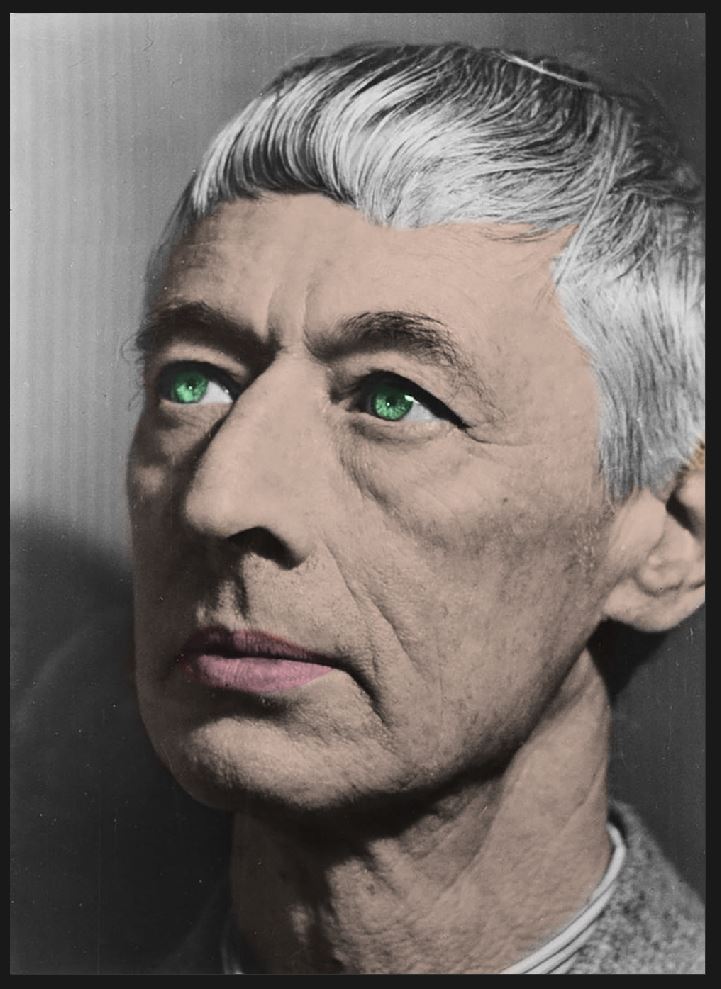
Fourth, I coloured his hair. I wanted a more colourful colour, so I chose the colour: #ad98ff. I used the soft light feature as I thought it best suit his hair.

Then, I coloured his jacket. I chose the hex colour code: #abe3ff and used the multiply layer.

Finally, I coloured the background. I used the colour code: #ff97a4 and also used the multiply layer.

Below is the final product, but without the original photo. I honestly found it quite scary, but it was so interesting to see how putting down the colours can recolour the black & white photo.

Below is the final product.


